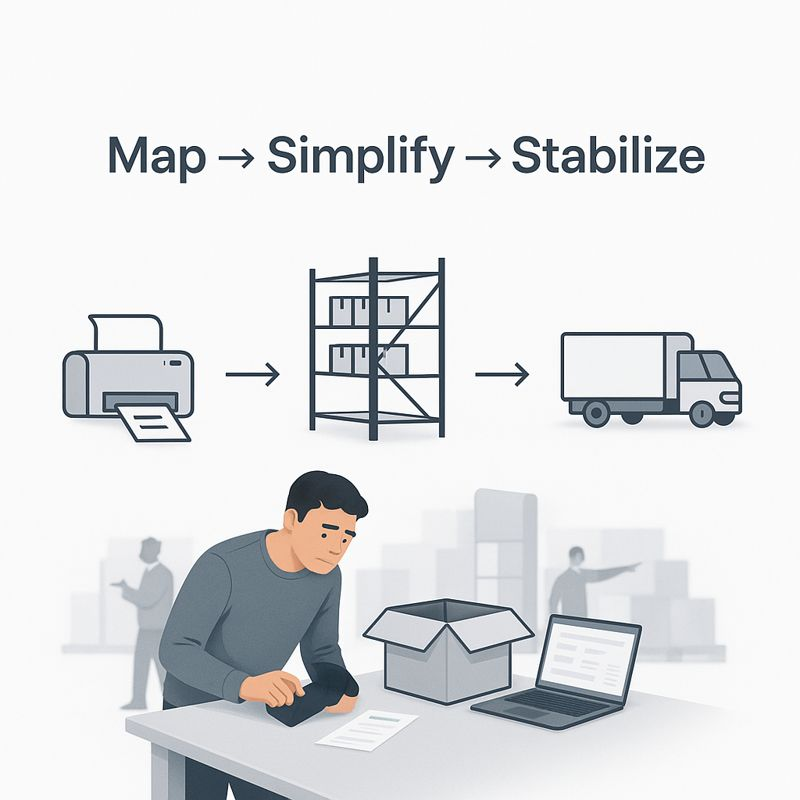
Pick to Pack Process


How small, visible controls keep orders correct without slowing you down
Written By: David Carneal – Digital Efficiency Consulting Group (DECG)
If you’ve ever had a truck at the dock while your team is frantically reopening boxes to fix something, you know how expensive “just one more quick check” can be. The good news is that a few simple checklists and visual cues can catch most of those problems long before the pallet reaches the door.
Make “done” visible at each step
For each stage — picked, staged, packed, ready to ship — define what “done” actually looks like. It might be as simple as a small checklist on the tote, a colored tag, or a status on a screen. The key is that anyone walking by can tell whether the order is ready for the next step or still in progress.
Use tiny checklists, not giant binders
Checklists work best when they’re short and specific. A three- to five-step list at pack-out — item, quantity, special instructions, correct label, correct carrier — does more good than a 40-page SOP no one has time to read. The goal is to give your people just enough structure to catch the common misses without turning every order into a paperwork exercise.
Let the visuals do the talking
Simple visuals go a long way: lane markings on the floor, labeled staging zones for each carrier, and a whiteboard or screen showing what’s shipping in the next hour. These are low-tech tools, but they reduce the number of times someone has to ask, “Where does this go?” or “Is this one ready?”
You don’t need fancy software to start. Begin with one product family or one dock and experiment. When people see fewer last-minute surprises and less rework at the door, adoption tends to take care of itself.